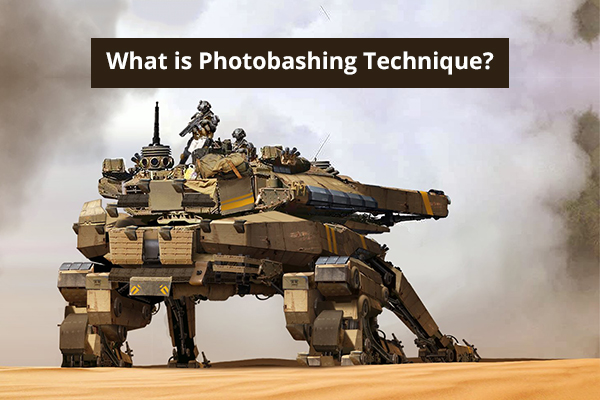
When you look at images or paintings that seem to be extremely realistic when you observed from a far, these images tend to look more apt, as they are usually so detailed it can seem like a real picture captured under high resolution. This often makes one wonder the amount of time and effort that must have been spent in creating such artistic art. The possibility of even achieving such detailed work is only made possible by a painting technique called Photobashing.
What is Photobashing Technique?
Photobashing is a technique where artists careful overlapping and blend photos and images while painting and compositing them into one finished piece. It typically involves expertly blending multiple numbers of photos and painting them meticulously until they give off the desired photo-texture of several images to become one illustration.
Click on below Video: Concept Illustration Techniques – Photobashing
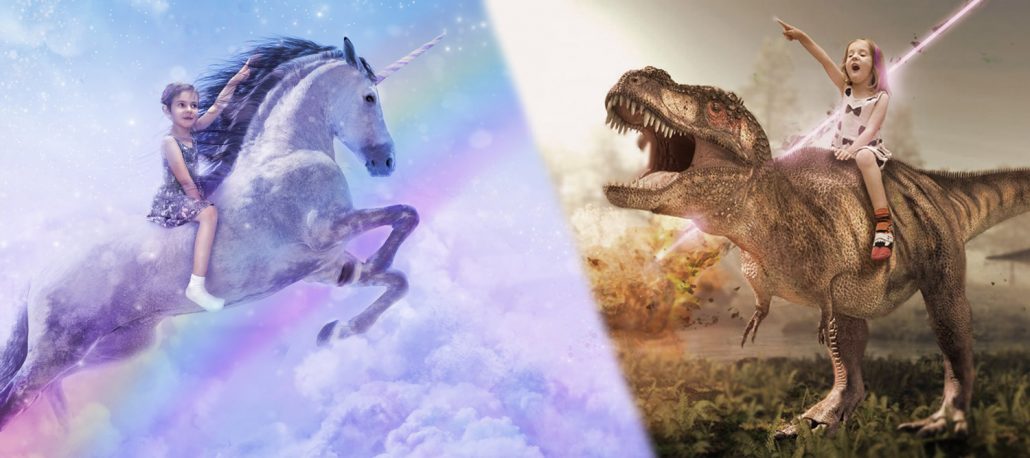
Photo-bashing or 3D model bashing is a widely used technique bye concept artists to speed up your workflow or add texture and achieve a realistic style.
Colors, details, shadow and light can be used from photos without the need to paint them. Often painting over the photos is required though to make sure the light and amount of detail of each object in your scene match perfectly.
Use of Photobashing Technique
Photobashing was developed by game concept artists who need to work fast.
This technique uses it for designing realistic objects, creatures, background, sets, costumes and the entire world.
If you want your artwork to look realistic and natural than using this photobashing technique.
Concept artists are responsible for the look of an object in a game or film. From guns to empty cans, everything needs to be visualized by an artist.
The sheer amount of artwork needed in any production is an overwhelming amount for any team — this technique helps to speed along the process.
Most professionals who use this technique are confident artists who could create similar concepts and design without the aid of photographs.
It’s not as simple as cutting and pasting one photo on top of another. It does take work and you have to know about how to paint over it, add to each image and change certain features.
Click on below Video: PHOTO – BASHING AMAZING TECHNIQUE
Tools For Photobashing
The most popular software for the type of photobashing work in photoshop. This is a fact that anyone is getting into digital painting since Photoshop is an industry standard.
Unlike other digital art software, adobe photoshop has specific tools that you alter photographs and paint with digital brushes.
Using Photoshop customizable brush set, layer styles and clone brushes you can blend photos seamlessly into digital artwork.
Finding the right photo for the artwork is a time-consuming process. You need high-quality images that are easy to work with and cut out.
It’s always best to use high-quality stock images as you won’t have to worry about copyright infringement or deal with pixelation problems. There are also plenty of free image sites like Wikimedia Commons that you can search through as well.
For students who are interested to learn more on Adobe Photoshop in Vadodara and would like to learn this on a more professional level, please sign up today for our Animation Course at Arena Sayajigunj to get the best start to their Professional Careers.
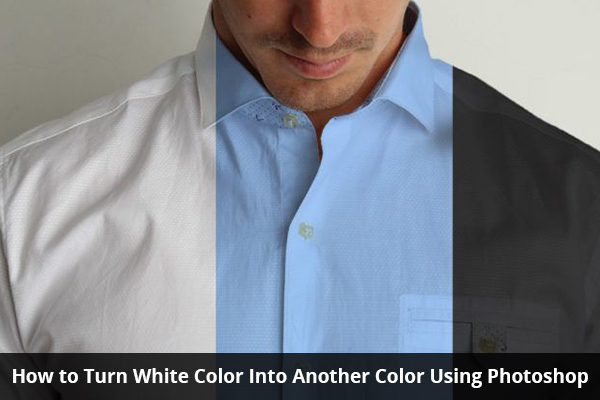
Changing the color of an object in your image using Photoshop is fairly easy. However, if an object you like to change is white, it may be challenging to give it a new color in a realistic fashion. But there is a way to do it and do it quickly. Here, we will teach you step-by-step to turn white color into another color and make it look more natural using Photoshop software tools.
Simple Steps to Turn White into Any Color in Photoshop
Step 1
Open your image which you want to change color in adobe photoshop and make a selection of the white area using any method you like and refine the layer mask later.
Step 2
Once you are done making the selection of the white area, create a solid color adjustment layer and pick any bright color you like. After that, you need to change the blending mode to multiply, to get a decent effect. Sometimes, this may be the only thing you need to do and other times you will need some more adjustments to get a more natural and realistic result.
Click on below Video: HOW TO CHANGE WHITE COLOR INTO ANY COLOR IN PHOTOSHOP| PHOTOSHOP TUTORIAL
Step 3
In this step, you can also add a Curves adjustment layer and adjust the contrast. You only need to apply Curves to the selection. The simplest way to do it is to group the Solid Color and the Curves adjustment layer mutually and apply the mask to the group. This way, any changes you make will only be applied to the white area.
This above three steps will be the same, but the final result may look a bit flat when you work with dark colors. So, it’s time to add some highlights.
Step 4
Add one more curves adjustment layer on top of the one which you created previously. Click in the center area and drag the point up to make the image brighter.
Step 5
Open the layer style box of the new curves adjustment layer. Under the blend if, go to the underlying layer slider and drag the black point to the right. This limits the highlights but gives very harsh transitions. Hold the Alt/Option key and split the slider for smoother transitions. This makes the black area a bit “shiny” and adds depth to the image. You can repeat this once more if you are not satisfied with the result.
Click on below video: Turn White into Any Color in Photoshop
For students who are interested to learn more on Adobe Photoshop in Vadodara and would like to learn this on a more professional level, please sign up today for our Animation Course at Arena Sayajigunj to get the best start to their Professional Careers.
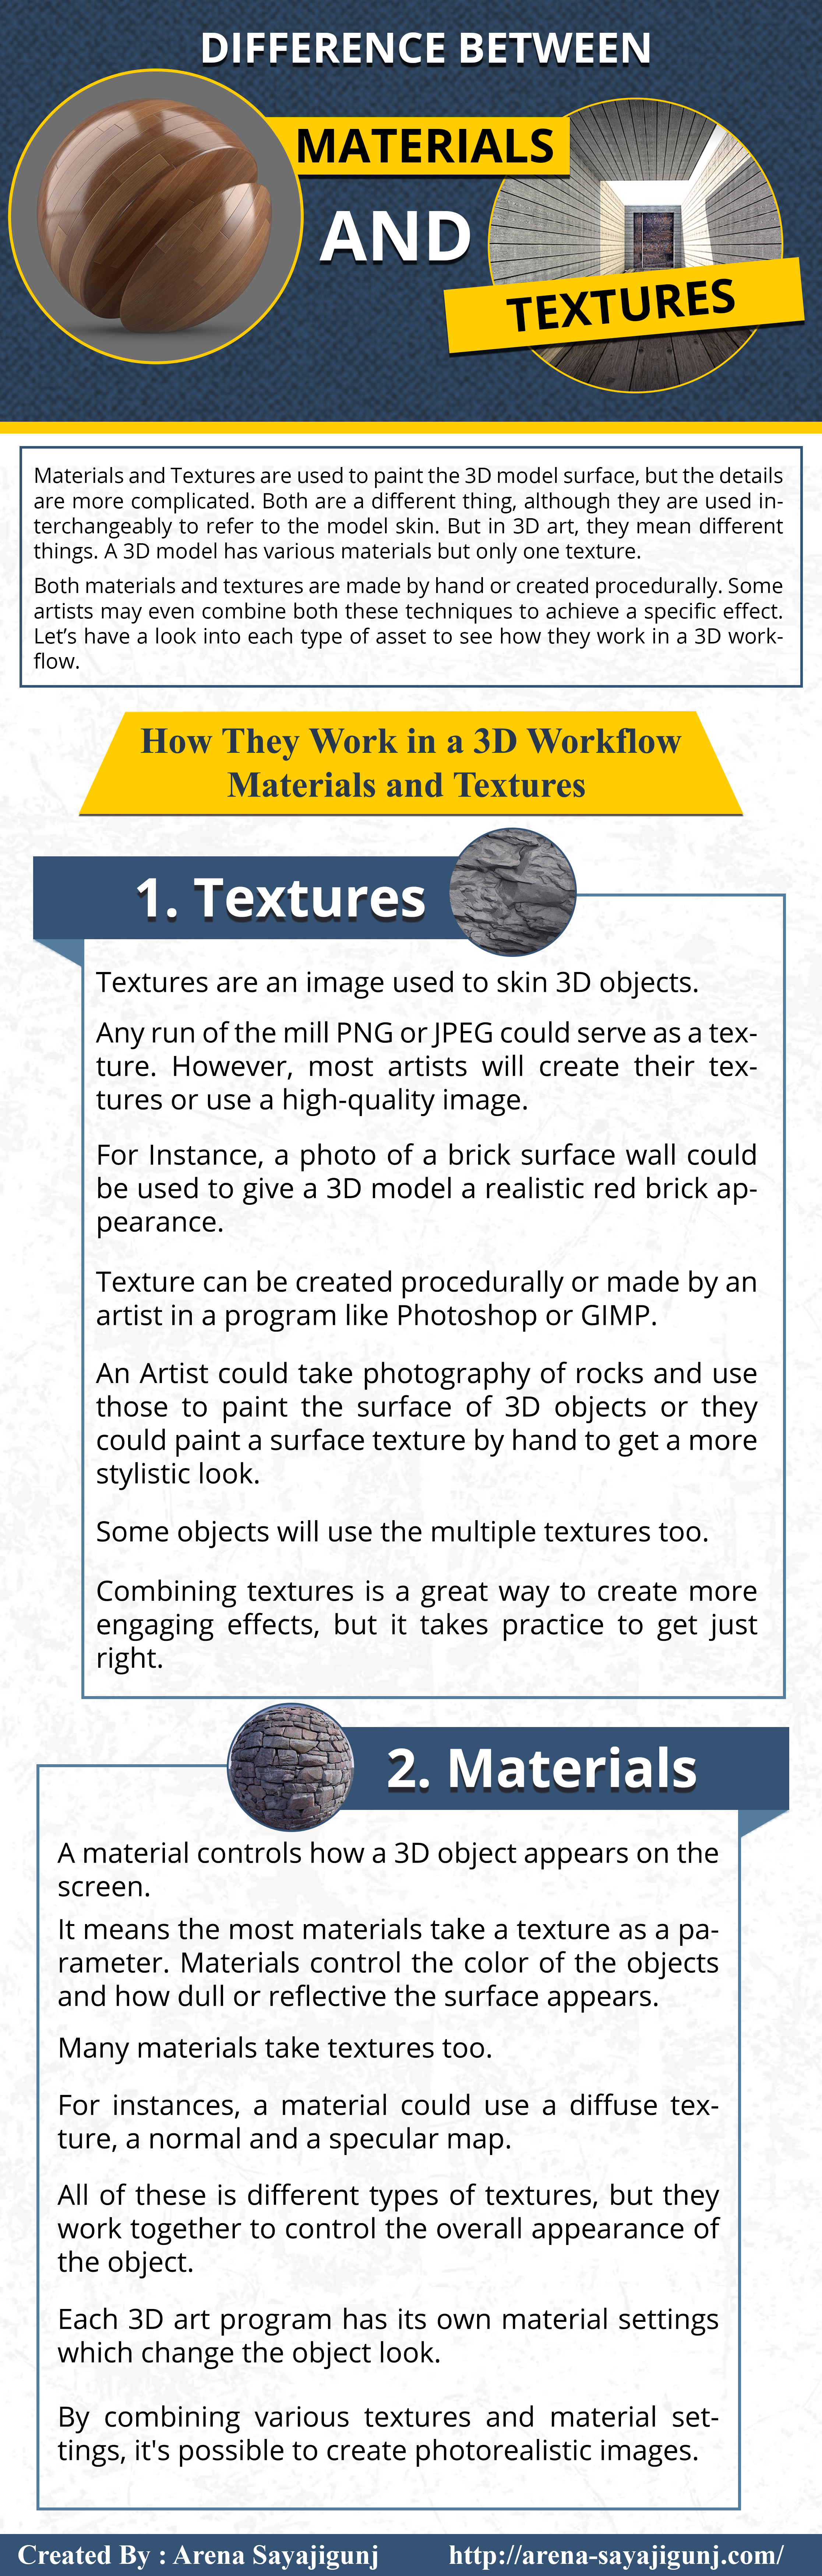
Materials and Textures are used to paint the 3D model surface, but the details are more complicated. Both are a different thing, although they are used interchangeably to refer to the model skin. But in 3D art, they mean different things. A 3D model has various materials but only one texture.
Both materials and textures are made by hand or created procedurally. Some artists may even combine both these techniques to achieve a specific effect. Let’s have a look into each type of asset to see how they work in a 3D workflow.
How they work in a 3D Workflow – Materials and Textures
1. Textures
Textures are an image used to skin 3D objects.
Any run of the mill PNG or JPEG could serve as a texture. However, most artists will create their textures or use a high-quality image.
For Instance, a photo of a brick surface wall could be used to give a 3D model a realistic red brick appearance.
Texture can be created procedurally or made by an artist in a program like Photoshop or GIMP.
An Artist could take photography of rocks and use those to paint the surface of 3D objects or they could paint a surface texture by hand to get a more stylistic look.
Some objects will use the multiple textures too.
Combining textures is a great way to create more engaging effects, but it takes practice to get just right.
2. Materials
A material controls how a 3D object appears on the screen.
It means the most materials take a texture as a parameter. Materials control the color of the objects and how dull or reflective the surface appears.
Many materials take textures too.
For instances, a material could use a diffuse texture, a normal and a specular map.
All of these are different types of textures, but they work together to control the overall appearance of the object.
Each 3D art program has its own material settings which change the object look.
By combining various textures and material settings, it’s possible to create photorealistic images.
Arena-Sayajigunj offers an excellent opportunity for students who are interested to learn more on Difference between Materials and Textures on a more professional level, please sign up today for our Animation Courses.
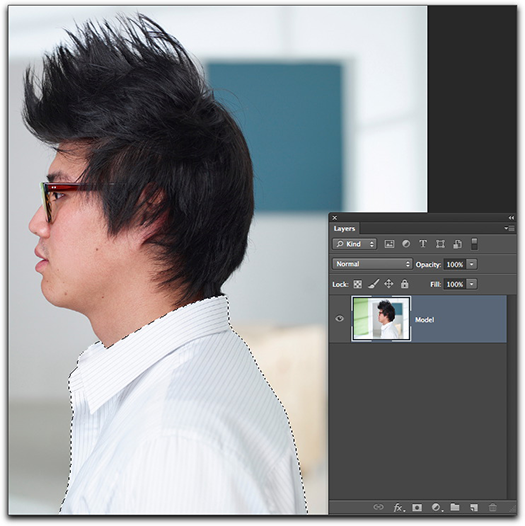
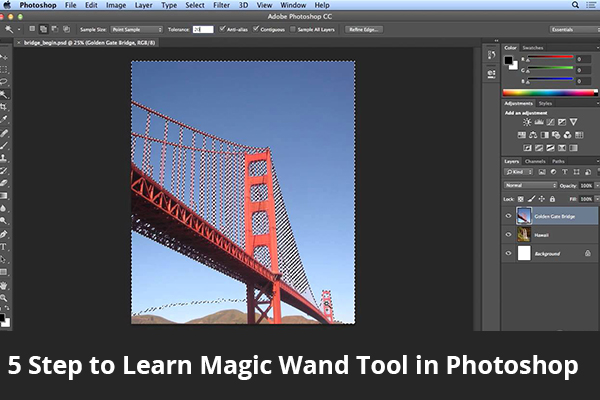
The Magic Wand Tool is simply known as the Magic Wand, is one of the oldest selection tools in Adobe Photoshop. It is a quick way to select and mask the certain portions of an image, giving you the ability to change one part of your image while leaving other parts intact.
One of the most common uses of the magic wand tool is to swap out or remove the background of a product image, leaving the subject of the image in place.
The Magic Wand automatically selects an area of image based on its color and tone. Click on any pixel, the magic wand find others that it detects a match. Using the Magic Wand options bar, you can able to choose to select only those pixels that share a common border or attempt to allow Photoshop to find all pixels within the image.
Photoshop really does a great work of finding matching shades within an image. This is helpful anytime you need to change a specific color throughout your project. What makes the Magic Wand feature even more useful that you can tweak the tolerance. If you have a shade of blue that is a close match for a shade of grey, for example, giving Photoshop the directive to have a more precise threshold makes the Magic Wand even more useful.
In this Arena Sayajigunj blog post, we are going to look beyond the magic, below are the few steps to learn how the wand tool really works in Magic Wand Tool in Photoshop
Click on below Video: How to Use the Magic Wand Tool in Photoshop
5 Steps to Learn the Magic Wand Tool in Photoshop
Step 1: Start with the Magic Wand Tool
This tool is used to select a similarly colored area.
Select the Magic Wand tool by clicking on its icon in Adobe Photoshop’s tool panels.
The tool works by you clicking in the area that you want to select.
Example: To select a black rectangle, we click in the middle of the black part of the shape.
Step 2 Adjust the Tolerance Level
Adjust the tolerance level which you find in the options bar on top of the screen.
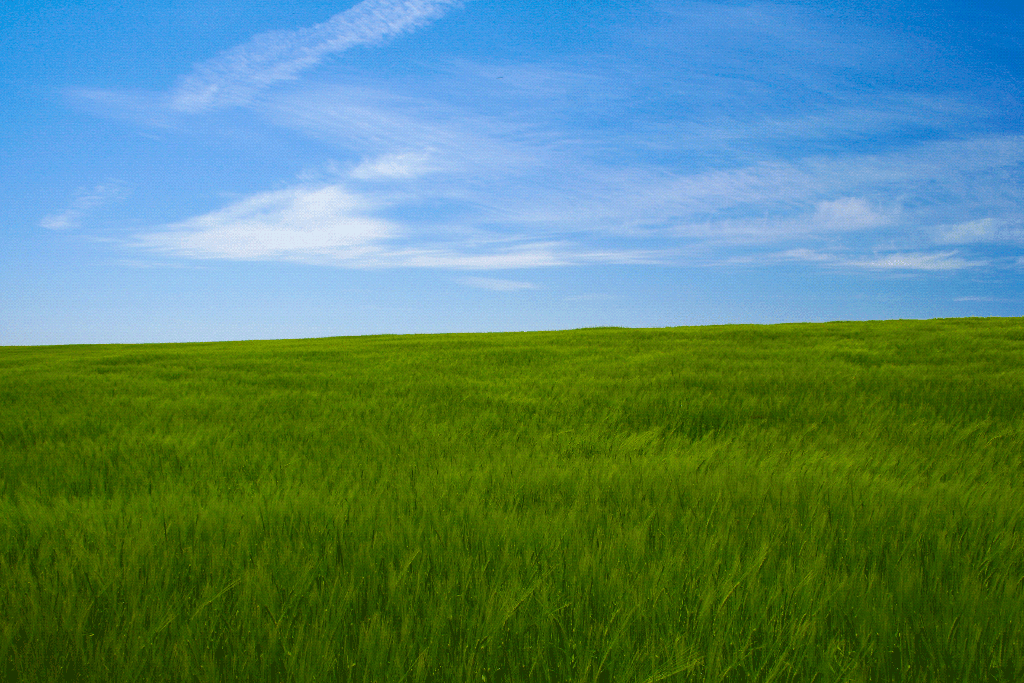
Open the image in Adobe Photoshop. The photo looks beautiful, but here the sky could view even more impressive. So, you can replace it.
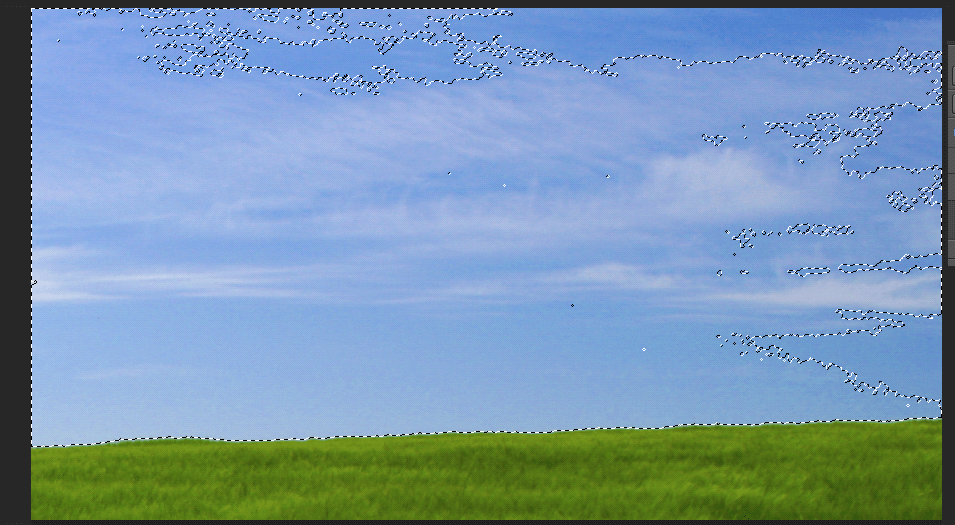
Step 3: Select the Area that you want to Remove
Replacing the sky means you first need to select an area that you want to replace. The magic wand excels at selecting large areas of solid color and the sky is blue with only a slight variation in tone. The magic wand will make it easy to select.
Click on below Video: Using the Magic Wand Tool – Adobe Photoshop CS6 Tutorial
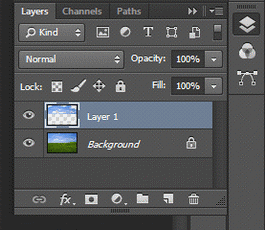
To replace the sky, you need to press ctrl+J to copy the area you want to keep in a new layer.
Step 4: Open an Image to Replace the Selection
Open the image that you want to replace the original sky with. Press ctrl+A to select the whole image and then press ctrl+C to copy it on the clipboard.
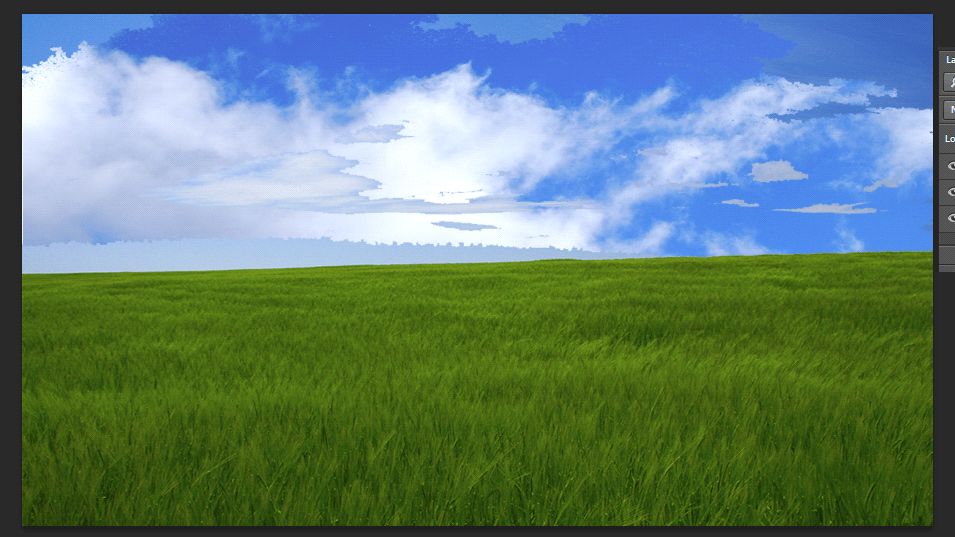
Step 5: Replace with the New Selection
Finally, press ctrl+V to paste the new image onto the document.
The sky is successfully, quickly and easily replaced.
We hope you find this blog very helpful while working with the Magic wand tool in Adobe Photoshop.
For students who are interested to learn more on Step to Learn the Magic Wand Tool in Photoshop and would like to learn this on a more professional level, please sign up today for our Arena Sayajigunj Course.
3D modeling techniques is most popular with beginners in which the artist begins with a low-resolution primitive and modifies the shape such as a box, sphere, and cylinder by extruding, scaling, or rotating faces and edges which are used to design the basic shape of the final model. This process uses a number of repetitive levels to get the final product, which can lead to a more efficient and controlled modeling process. Let’s take a look at a few of the most common used 3D modeling techniques.
4 Common Used 3D Modelling Techniques You Should Know
1. Digital Sculpting
The technology industry has integrated with various 3D modeling processes, that they call disruptive technologies. The artists use this advanced 3D modeling software programs to develop the models. Digital sculpting is a type of disruptive technology and has leveraged the 3D modeling process to a great extent. The modellers do not need to carry out the painstaking constraints of edge flow and topography. This allows them to design the 3D models, in a way similar to the sculpting digital clay process.
With digital sculpting, creature sculpting and character sculpting has reached to distinct levels. The modelers can carry out the process faster and with great efficiency. The artists work with meshes containing high resolution with millions of polygons.
2. Subdivision / Box Modeling
Box modeling is the most common polygonal 3D modeling techniques and that is used in combination with edge modeling techniques.
This is a polygonal modeling type where the artists make use of geometric shapes like cylinder, cube or sphere and then shapes it until the intended appearance is obtained. Box modelers carry out the process in different stages. First, they started with a low-resolution mesh after that they refine the model shape than they sub-divides the mesh, ensuring the hard edges are smoothened out and add the required detail in it. They repeat this process of refining and subdividing until polygonal detail is present in the mesh, which can convey the desired concept.
3. Image-Based Modeling
In this modeling, 3D objects are derived algorithmically from a set of 2D images that are static. This type of modeling is used where the modeler faces budgetary or time restrictions and is not able to develop realized entirely 3D images. This is one of the most common types of 3D modeling in the film production industry. Over the years, image-based modeling is frequently used in the entertainment industry.
4. Contour / Edge Modeling
This is another type of polygonal modeling technique, although it is different from box modeling. In the process, the modelers develop the model piece by piece, instead of refining a primitive shape. This is accomplished by placing the loops of polygons along the edges and filling the gaps that lie between them. This process is applied, as it is hard to complete certain mashes through box modelling. For instance, the human face cannot be achieved only through box modeling. You can collaborate with one of the reputed modeling organizations to get these models designed. The experts carry out 3D modeling process with skill and develop the desired models.
For students who are interested to learn more on 3D Modeling Techniques in Vadodara and would like to learn this on a more professional level, please sign up today for our Animation Course at Arena Sayajigunj to get the best start to their Professional Careers.
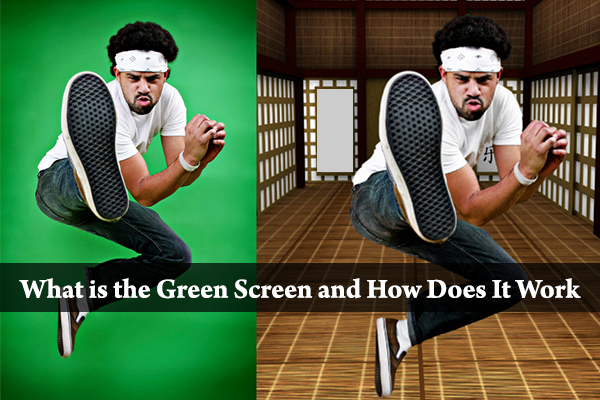
In big blockbuster films, we all know that the fantastical background looks underwhelming on set. With the use of green screen, filmmakers are creating worlds with an unbelievable sense of authenticity. Green screen is common and practical now with the rise of digital filmmaking.
Green Screen is a visual effects technique where two images or video are layered together. The green screen lets you drop in whatever background images you want behind the actors or foreground. It’s used in film production to relatively place the desired background behind the subject/actor. When a background isn’t available and impossible to create like a fictional, historical, futuristic, alien or even just hard-to-access location green screen comes to the rescue.
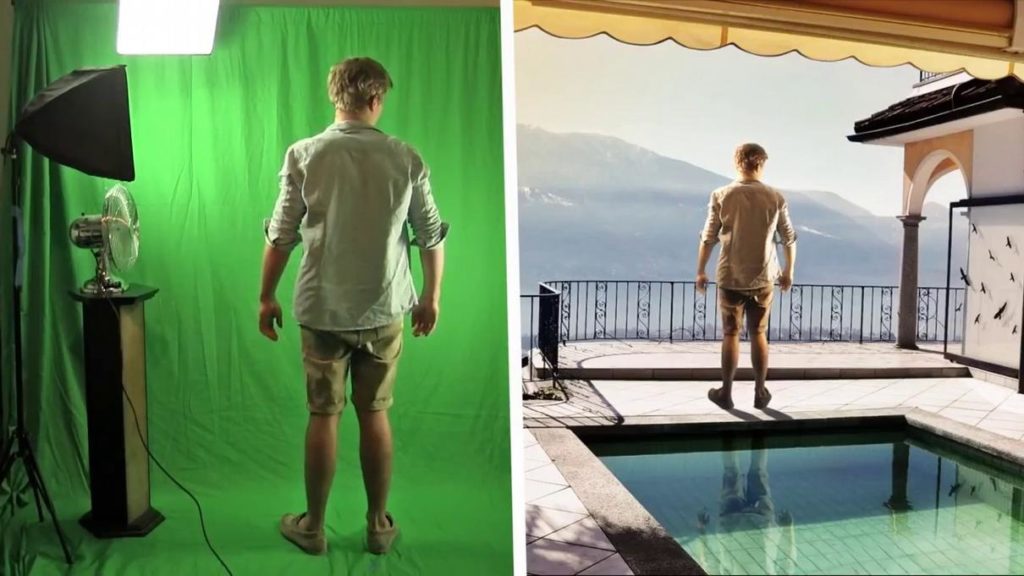
After the Shot, the Compositors take over:
The new background is composited (2 images or video streams are layered mutually) into the shot.
The chroma key singles out the decided color (green screen) and digitally removes it by rendering it transparent. Lets the other image to show through.
When used with more sophisticated 3D animation techniques, this process can add a new element (fire, rain, smoke, etc.) to complex moving shots.
Click on below Video: Use Green Screen to Create Composites in Photoshop!
Why is Green Screen used?
You can make use of any background color technically. A vibrant, almost neon green is the standard choice because it is a distinctly different color on the subject from anything (e.g. the clothes, hair, eyes, accessories).
The critical rule is no matching colors. The background has to be a different color from the main subject. Otherwise, if the actor is wearing a bright green tie in front of a green screen, then he will end up with a transparent layer down his chest where the tie is.
How to Set Up Green Screen in Shot
1. No Reflective Surfaces
Avoid any green and reflective surface from the shot. Don’t allow the actor to wear or hold anything green color or else the particular portion will become transparent once chroma-keyed. Any shiny objects will pick up the green from the screen and also be rendered transparent.
2. Allow Depth
For an entire shot of your actor, you will need to back up the camera to allow the full figure shot and a good separation between the green screen and the subject (At least 6 feet to avoid).
Depending on the lens, you will typically want 25-30 feet depth shot that don’t shoot off the edges of the background for a full-length.
3. Light and Softly
Light the green screen as smoothly as possible to give a smooth gradient and texture. The more even the lighting, the more comfortable and better it will be to manipulate the material.
Keep the green screen clean and smooth to maintain a consistent color range. If the screen is fabric, make sure there aren’t any lines. If coated, keep extra paint on hand to touch up any scratches.
4. Light Separately
The green background should be little separately from the subject to avoid:
The subject casting shadows and a green screen hue bouncing off the subject which creates problems when removing the background.
This is why you will need at least six feet of separation between subject and background.
5. Keep Camera Position Still
When green screen shots – Keep your camera in a static form. Lock the camera, so the subject doesn’t look like it’s bouncing or vibrating against the background when the camera moves slightly.
Your subject will look like it’s shrinking in relation to the background.
Use motion trackers and motion control for more sophisticated 3D shots, but it’s a lot more work for the VFX artists.
Use Chroma Key Software
Research and consider software based on the shots needed, the editing system and user experience. Your options for Chroma Key software will depend on the type of shot.
Arena Sayajigunj offers an excellent opportunity for students who are interested to learn more the Green Screen and how does it work on more professional level, please sign up today for our VFX Courses.