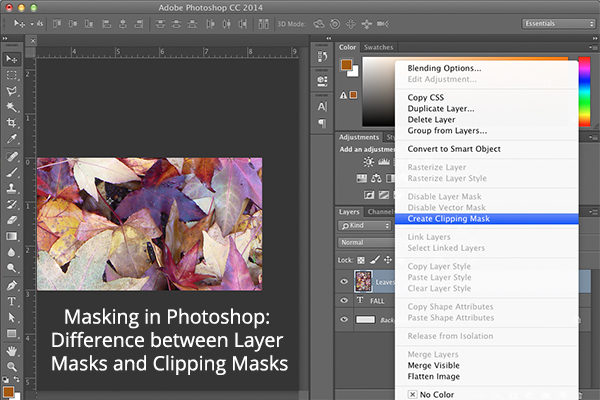
Masking is one of the most powerful in adobe photoshop. Masks can be used to create very useful visual effects. From combining images to stylizing texts, there are numbers of uses of masks in Photoshop. Here we will learn about the two types of masks which is used in Adobe Photoshop: layer masks and clipping masks through examples. Both should be useful in a different way and if you want to master Adobe Photoshop, then you will need to understand these crucial differences.
Difference Between Layer Masks and Clipping Masks
Adobe Photoshop: Layer Masks
Layer masks are one of Adobe Photoshop’s most useful features. The path to Photoshop software mastery begins with grasping the power of layer masks.
Basically, a layer mask controls a layer’s transparency.
Layer masks use a single mask that is applied to a single image and that allows to hide portions of a layer while exposing other layers positioned underneath. This is performed by adjusting the layer’s transparency and opacity through a mask.
It can only have monochromatic colors in grayscale between white, black and the various shades of grey in between.
Click on below Video: Difference Between Layer Masks & Clipping Masks in Photoshop
How to Create a Layer Mask
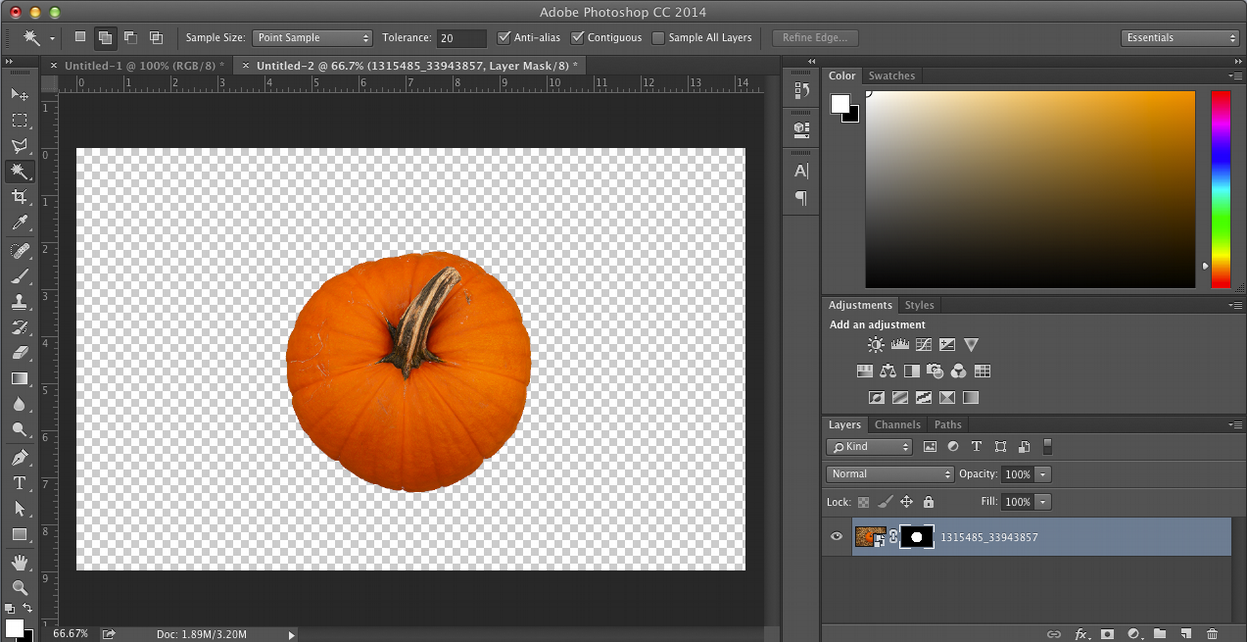
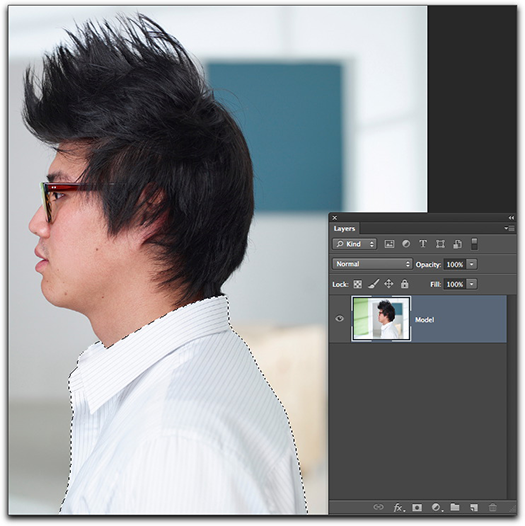
Open Photoshop software and start by selecting the image you wish to manipulate. There is a number of tools to select the object you want to mask. In this example, here we make use of the magic wand tool to select the pumpkin object, but you can also make use of the marquee tool, quick selection tool or a shape tool.
Once the selection process is active, click on the mask button to create a new mask layer. The selected pixels set to visible while the unselected are hidden. If you look at the layer palette, you will mark that the mask is being applied to the layer itself.
Now that you have the layer mask, you can choose to add it to a totally different background.
Adobe Photoshop: Clipping Masks
Clipping masks allow you to hide portions of an image, but these masks are created using multiple layers, whereas layer masks only make use of a single layer. A clipping mask is a shape that masks other artwork and only reveals what lies in shape. Not only clipping masks be created from shapes, but they can also be applied to vector and text objects.
This mask work in the same way as layer masks, except that they don’t have the monochromatic grayscale color range. Instead, they acquire the transparency of the layer beneath them.
Click on below Video: How to use Layer Masks in Photoshop
How to Create a Clipping Mask
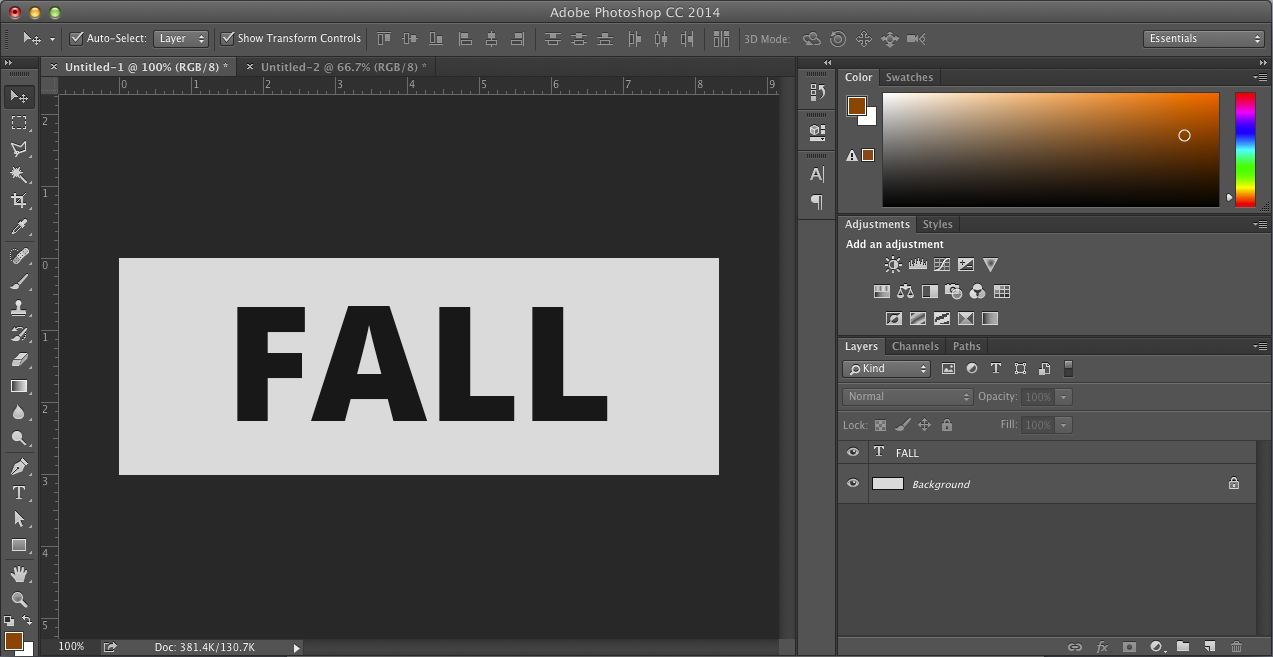
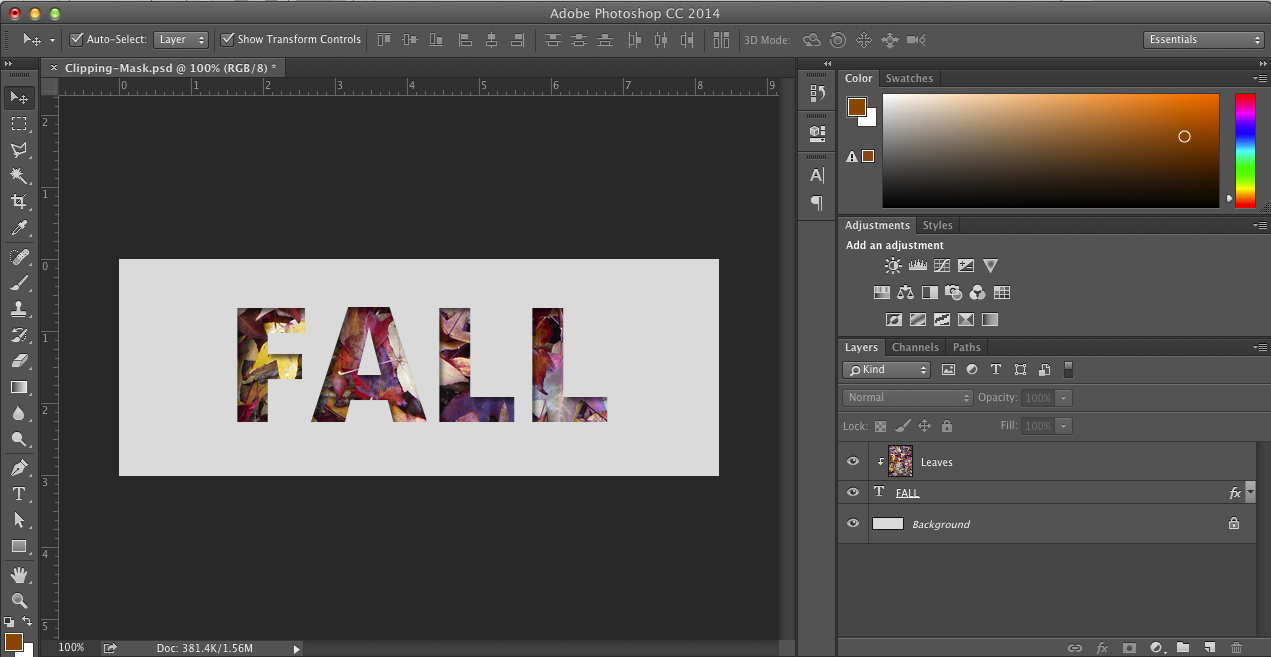
To create a clipping mask using text, start by typing out the text you want to mask in Adobe Photoshop.
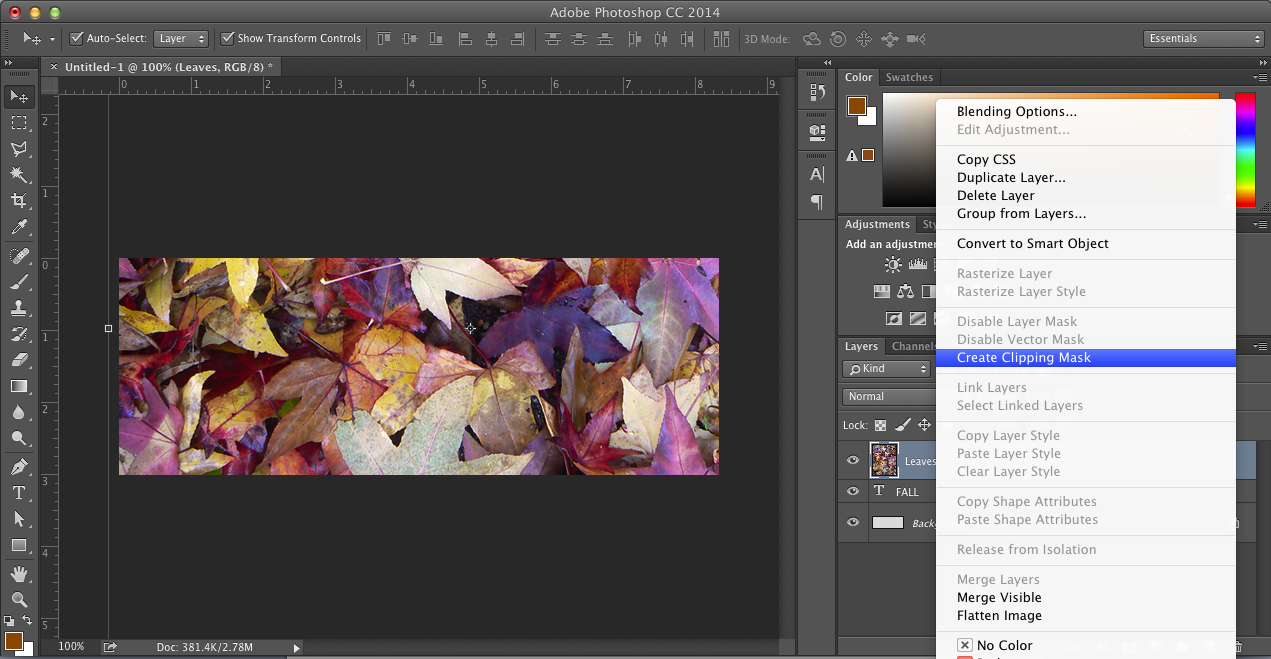
Next, add the image you wish to mask above the text layer. Right click on the image layer and select create a clipping mask.
Now you should see your image displaying through the letters you created. If you look at layers palette, you will see the mask was created by connecting two layers.
There are many uses of this wonderful masking feature. You can learn more about layer masks and clipping masks in Animation courses.
Stylizing text and blending images are just a few examples of how you can enhance your designs with Adobe Photoshop masks.
For students who are interested to learn more on Step to Learn the Magic Wand Tool in Photoshop and would like to learn this on a more professional level, please sign up today for our Arena Sayajigunj Course.
When you look at images or paintings that seem to be extremely realistic when you observed from a far, these images tend to look more apt, as they are usually so detailed it can seem like a real picture captured under high resolution. This often makes one wonder the amount of time and effort that must have been spent in creating such artistic art. The possibility of even achieving such detailed work is only made possible by a painting technique called Photobashing.
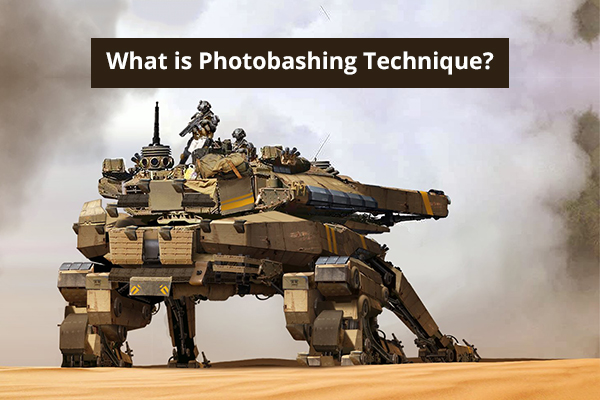
What is Photobashing Technique?
Photobashing is a technique where artists careful overlapping and blend photos and images while painting and compositing them into one finished piece. It typically involves expertly blending multiple numbers of photos and painting them meticulously until they give off the desired photo-texture of several images to become one illustration.
Click on below Video: Concept Illustration Techniques – Photobashing
Photo-bashing or 3D model bashing is a widely used technique bye concept artists to speed up your workflow or add texture and achieve a realistic style.
Colors, details, shadow and light can be used from photos without the need to paint them. Often painting over the photos is required though to make sure the light and amount of detail of each object in your scene match perfectly.
Use of Photobashing Technique
Photobashing was developed by game concept artists who need to work fast.
This technique uses it for designing realistic objects, creatures, background, sets, costumes and the entire world.
If you want your artwork to look realistic and natural than using this photobashing technique.
Concept artists are responsible for the look of an object in a game or film. From guns to empty cans, everything needs to be visualized by an artist.
The sheer amount of artwork needed in any production is an overwhelming amount for any team — this technique helps to speed along the process.
Most professionals who use this technique are confident artists who could create similar concepts and design without the aid of photographs.
It’s not as simple as cutting and pasting one photo on top of another. It does take work and you have to know about how to paint over it, add to each image and change certain features.
Click on below Video: PHOTO – BASHING AMAZING TECHNIQUE
Tools For Photobashing
The most popular software for the type of photobashing work in photoshop. This is a fact that anyone is getting into digital painting since Photoshop is an industry standard.
Unlike other digital art software, adobe photoshop has specific tools that you alter photographs and paint with digital brushes.
Using Photoshop customizable brush set, layer styles and clone brushes you can blend photos seamlessly into digital artwork.
Finding the right photo for the artwork is a time-consuming process. You need high-quality images that are easy to work with and cut out.
It’s always best to use high-quality stock images as you won’t have to worry about copyright infringement or deal with pixelation problems. There are also plenty of free image sites like Wikimedia Commons that you can search through as well.
For students who are interested to learn more on Adobe Photoshop in Vadodara and would like to learn this on a more professional level, please sign up today for our Animation Course at Arena Sayajigunj to get the best start to their Professional Careers.
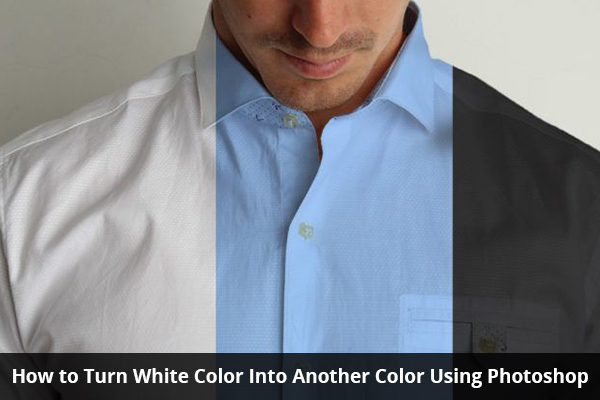
Changing the color of an object in your image using Photoshop is fairly easy. However, if an object you like to change is white, it may be challenging to give it a new color in a realistic fashion. But there is a way to do it and do it quickly. Here, we will teach you step-by-step to turn white color into another color and make it look more natural using Photoshop software tools.
Simple Steps to Turn White into Any Color in Photoshop
Step 1
Open your image which you want to change color in adobe photoshop and make a selection of the white area using any method you like and refine the layer mask later.
Step 2
Once you are done making the selection of the white area, create a solid color adjustment layer and pick any bright color you like. After that, you need to change the blending mode to multiply, to get a decent effect. Sometimes, this may be the only thing you need to do and other times you will need some more adjustments to get a more natural and realistic result.
Click on below Video: HOW TO CHANGE WHITE COLOR INTO ANY COLOR IN PHOTOSHOP| PHOTOSHOP TUTORIAL
Step 3
In this step, you can also add a Curves adjustment layer and adjust the contrast. You only need to apply Curves to the selection. The simplest way to do it is to group the Solid Color and the Curves adjustment layer mutually and apply the mask to the group. This way, any changes you make will only be applied to the white area.
This above three steps will be the same, but the final result may look a bit flat when you work with dark colors. So, it’s time to add some highlights.
Step 4
Add one more curves adjustment layer on top of the one which you created previously. Click in the center area and drag the point up to make the image brighter.
Step 5
Open the layer style box of the new curves adjustment layer. Under the blend if, go to the underlying layer slider and drag the black point to the right. This limits the highlights but gives very harsh transitions. Hold the Alt/Option key and split the slider for smoother transitions. This makes the black area a bit “shiny” and adds depth to the image. You can repeat this once more if you are not satisfied with the result.
Click on below video: Turn White into Any Color in Photoshop
For students who are interested to learn more on Adobe Photoshop in Vadodara and would like to learn this on a more professional level, please sign up today for our Animation Course at Arena Sayajigunj to get the best start to their Professional Careers.
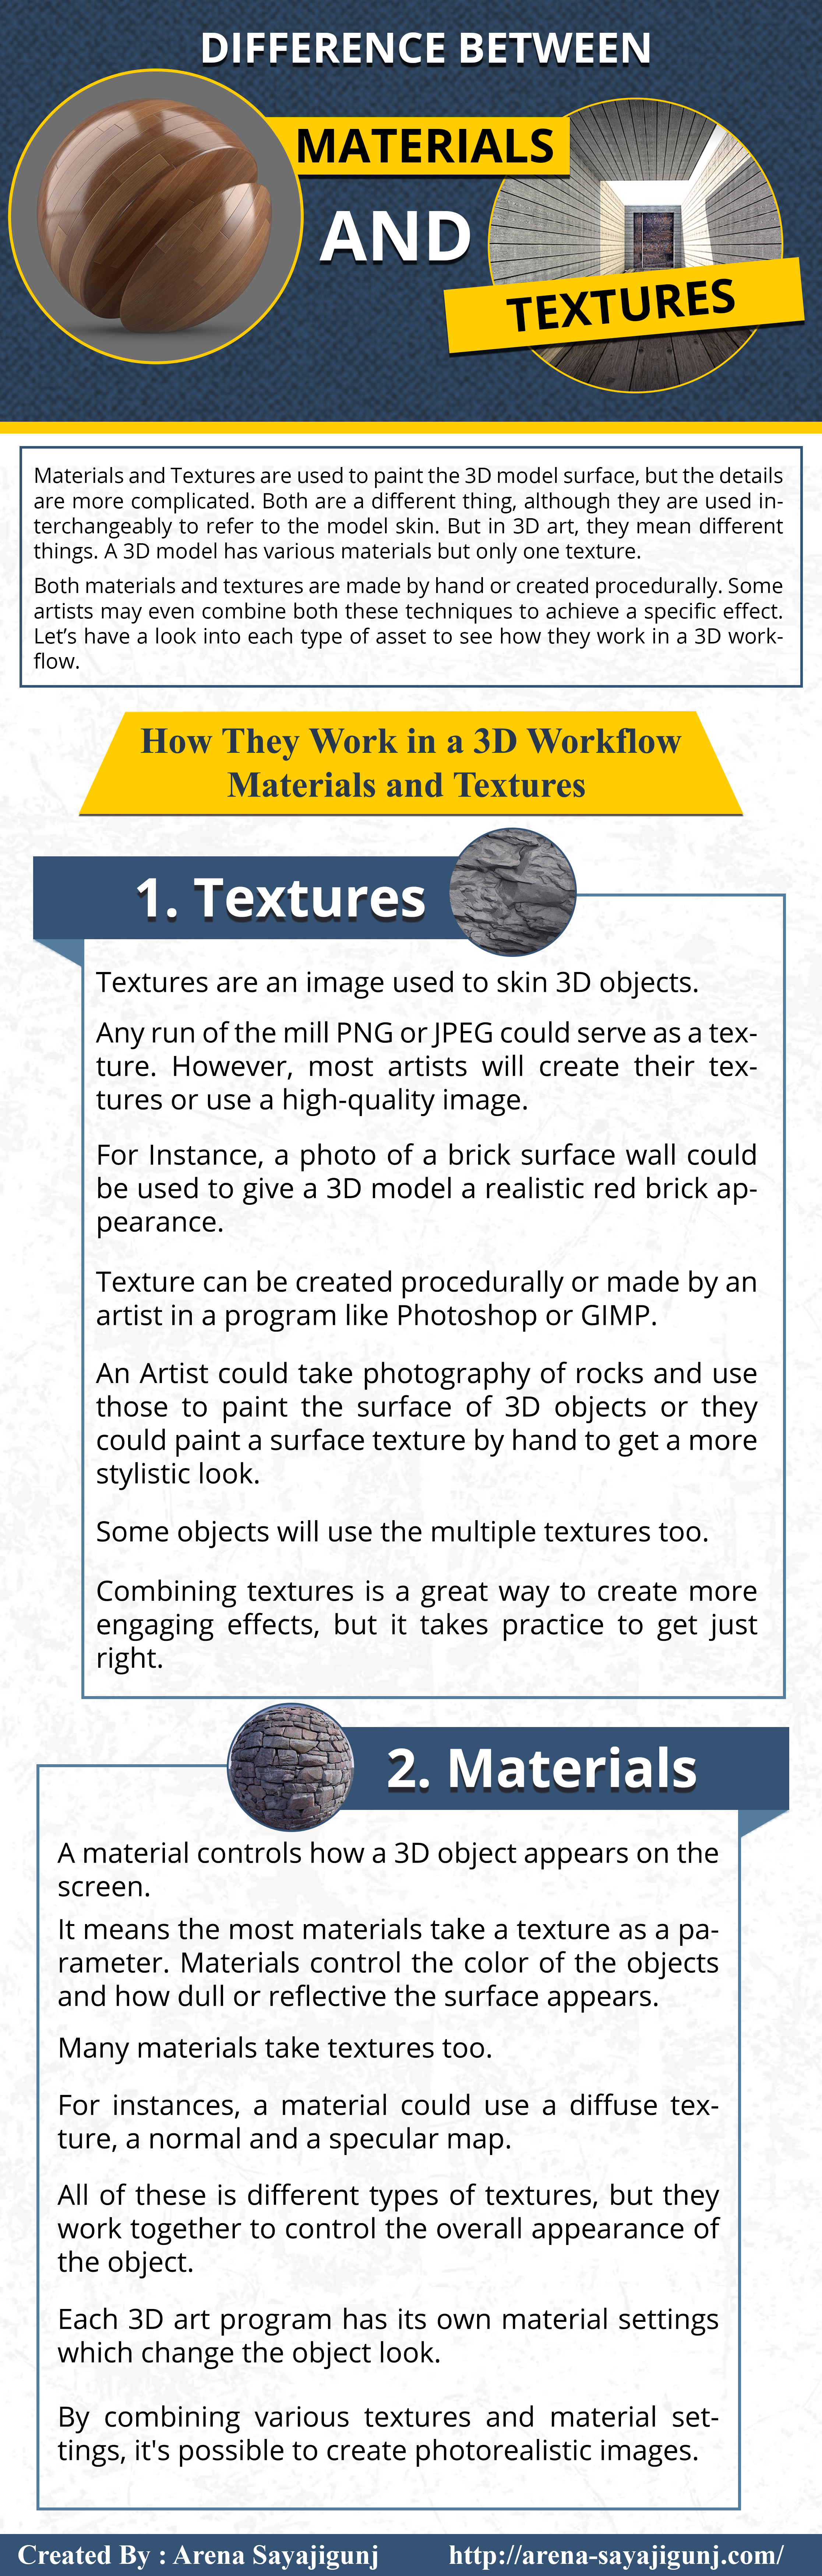
Materials and Textures are used to paint the 3D model surface, but the details are more complicated. Both are a different thing, although they are used interchangeably to refer to the model skin. But in 3D art, they mean different things. A 3D model has various materials but only one texture.
Both materials and textures are made by hand or created procedurally. Some artists may even combine both these techniques to achieve a specific effect. Let’s have a look into each type of asset to see how they work in a 3D workflow.
How they work in a 3D Workflow – Materials and Textures
1. Textures
Textures are an image used to skin 3D objects.
Any run of the mill PNG or JPEG could serve as a texture. However, most artists will create their textures or use a high-quality image.
For Instance, a photo of a brick surface wall could be used to give a 3D model a realistic red brick appearance.
Texture can be created procedurally or made by an artist in a program like Photoshop or GIMP.
An Artist could take photography of rocks and use those to paint the surface of 3D objects or they could paint a surface texture by hand to get a more stylistic look.
Some objects will use the multiple textures too.
Combining textures is a great way to create more engaging effects, but it takes practice to get just right.
2. Materials
A material controls how a 3D object appears on the screen.
It means the most materials take a texture as a parameter. Materials control the color of the objects and how dull or reflective the surface appears.
Many materials take textures too.
For instances, a material could use a diffuse texture, a normal and a specular map.
All of these are different types of textures, but they work together to control the overall appearance of the object.
Each 3D art program has its own material settings which change the object look.
By combining various textures and material settings, it’s possible to create photorealistic images.
Arena-Sayajigunj offers an excellent opportunity for students who are interested to learn more on Difference between Materials and Textures on a more professional level, please sign up today for our Animation Courses.
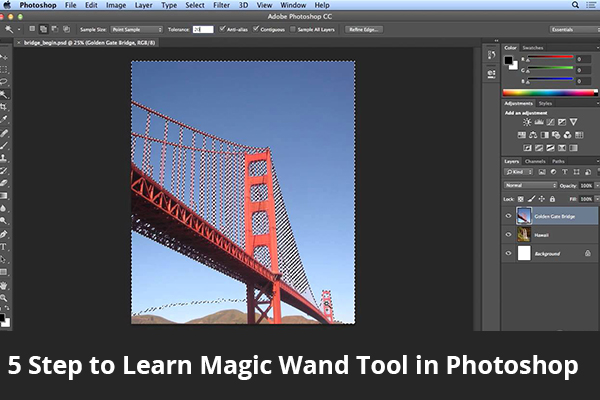
The Magic Wand Tool is simply known as the Magic Wand, is one of the oldest selection tools in Adobe Photoshop. It is a quick way to select and mask the certain portions of an image, giving you the ability to change one part of your image while leaving other parts intact.
One of the most common uses of the magic wand tool is to swap out or remove the background of a product image, leaving the subject of the image in place.
The Magic Wand automatically selects an area of image based on its color and tone. Click on any pixel, the magic wand find others that it detects a match. Using the Magic Wand options bar, you can able to choose to select only those pixels that share a common border or attempt to allow Photoshop to find all pixels within the image.
Photoshop really does a great work of finding matching shades within an image. This is helpful anytime you need to change a specific color throughout your project. What makes the Magic Wand feature even more useful that you can tweak the tolerance. If you have a shade of blue that is a close match for a shade of grey, for example, giving Photoshop the directive to have a more precise threshold makes the Magic Wand even more useful.
In this Arena Sayajigunj blog post, we are going to look beyond the magic, below are the few steps to learn how the wand tool really works in Magic Wand Tool in Photoshop
Click on below Video: How to Use the Magic Wand Tool in Photoshop
5 Steps to Learn the Magic Wand Tool in Photoshop
Step 1: Start with the Magic Wand Tool
This tool is used to select a similarly colored area.
Select the Magic Wand tool by clicking on its icon in Adobe Photoshop’s tool panels.
The tool works by you clicking in the area that you want to select.
Example: To select a black rectangle, we click in the middle of the black part of the shape.
Step 2 Adjust the Tolerance Level
Adjust the tolerance level which you find in the options bar on top of the screen.
Open the image in Adobe Photoshop. The photo looks beautiful, but here the sky could view even more impressive. So, you can replace it.
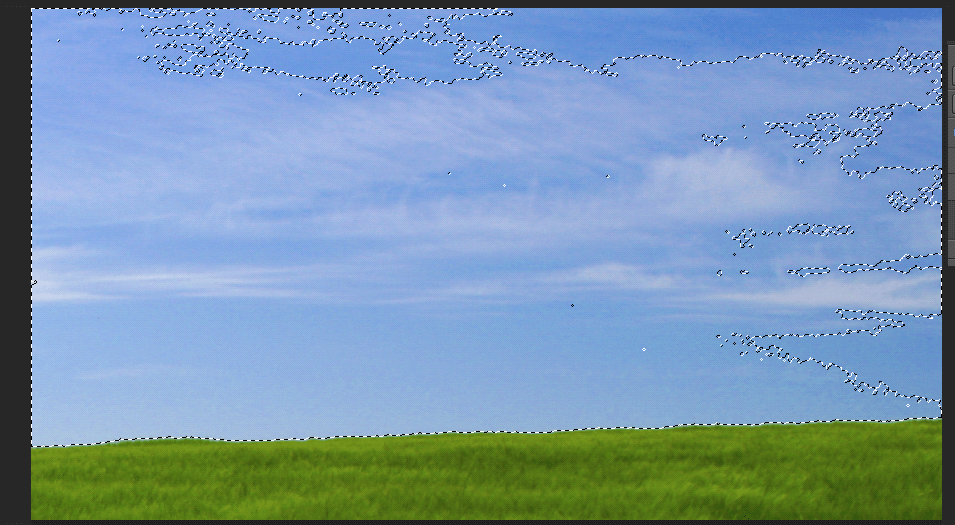
Step 3: Select the Area that you want to Remove
Replacing the sky means you first need to select an area that you want to replace. The magic wand excels at selecting large areas of solid color and the sky is blue with only a slight variation in tone. The magic wand will make it easy to select.
Click on below Video: Using the Magic Wand Tool – Adobe Photoshop CS6 Tutorial
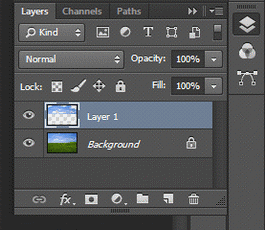
To replace the sky, you need to press ctrl+J to copy the area you want to keep in a new layer.
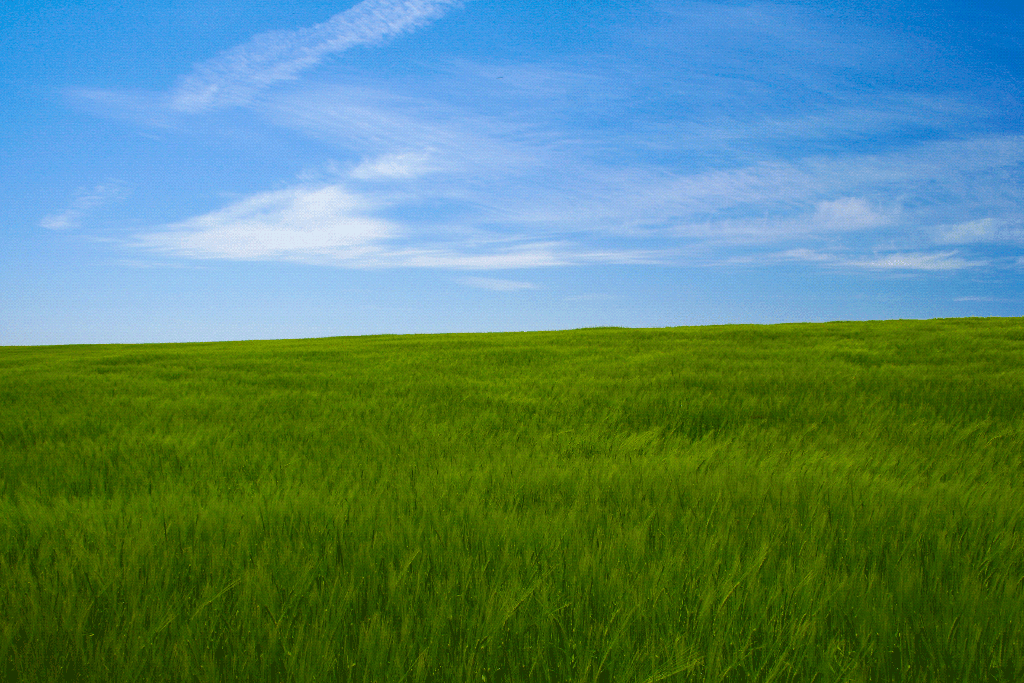
Step 4: Open an Image to Replace the Selection
Open the image that you want to replace the original sky with. Press ctrl+A to select the whole image and then press ctrl+C to copy it on the clipboard.
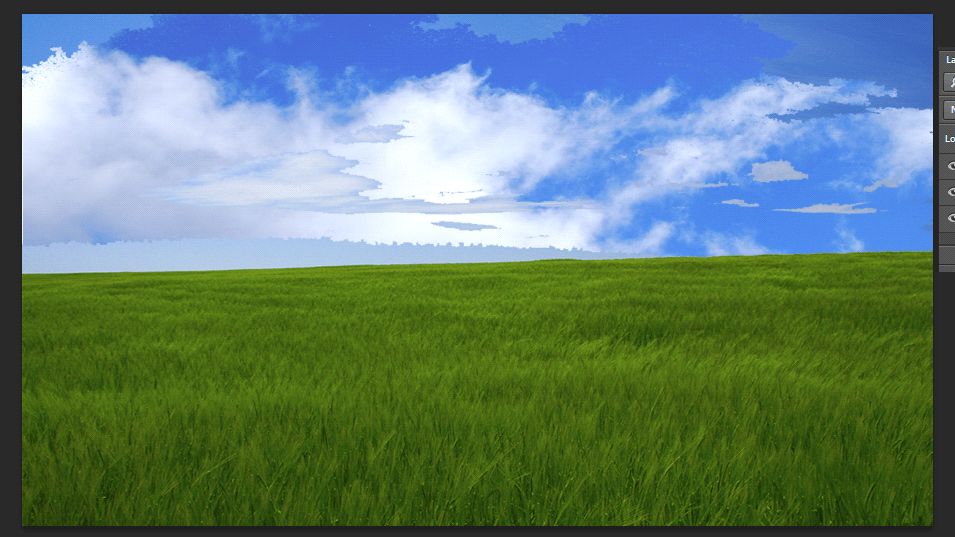
Step 5: Replace with the New Selection
Finally, press ctrl+V to paste the new image onto the document.
The sky is successfully, quickly and easily replaced.
We hope you find this blog very helpful while working with the Magic wand tool in Adobe Photoshop.
For students who are interested to learn more on Step to Learn the Magic Wand Tool in Photoshop and would like to learn this on a more professional level, please sign up today for our Arena Sayajigunj Course.