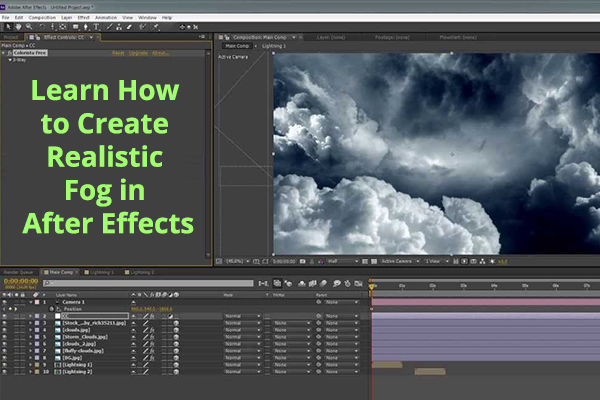
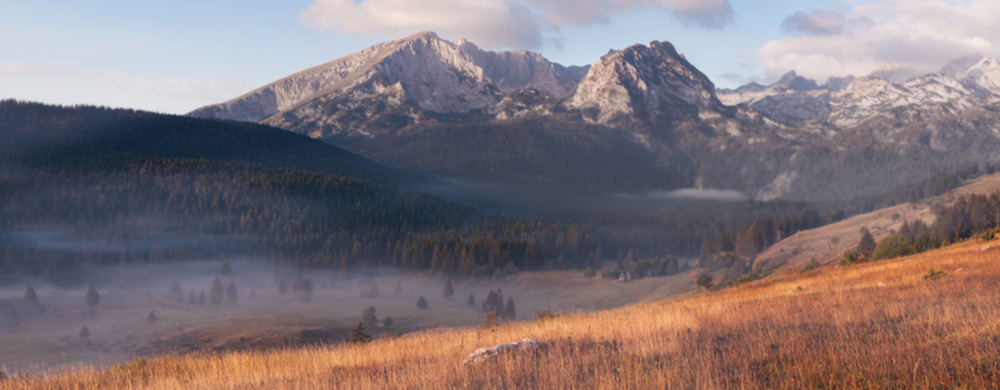
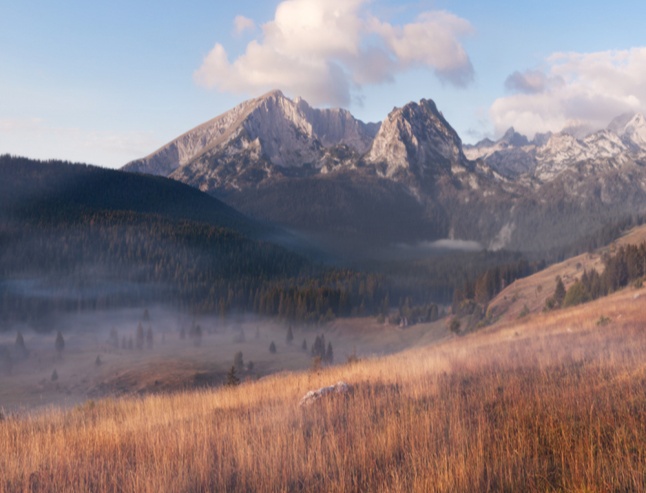
Learn How to Create Realistic Fog in After Effects
When it comes to creating a fog effect you actually have a lot of options in after effects and are a great place to begin. Let’s get started with six easy steps to create incredibly realistic fog in after effects that will wow your audience.
If you are new to Adobe After Effects and interested to learn more on After effect techniques and like to experience and practice more on a professional level, please sign up today for our Arena Animation Course at Vadodara.
Click on below Video: How to Properly Composite Fog in After Effects The Easy Way
6 Steps to Compositing Fog in After Effects
Step 1: Adjust the Position and Scale
Place and Move your fog layer to the correct position in the composition and to scale your layer use the scale feature.
Step 2: Set an Adjustment Layer

Set a new adjustment layer. Then position the adjustment layer under your ‘Fog’ layer and set the track matte to ‘Luma Matte’. Your ‘Fog’ layer will disappear.
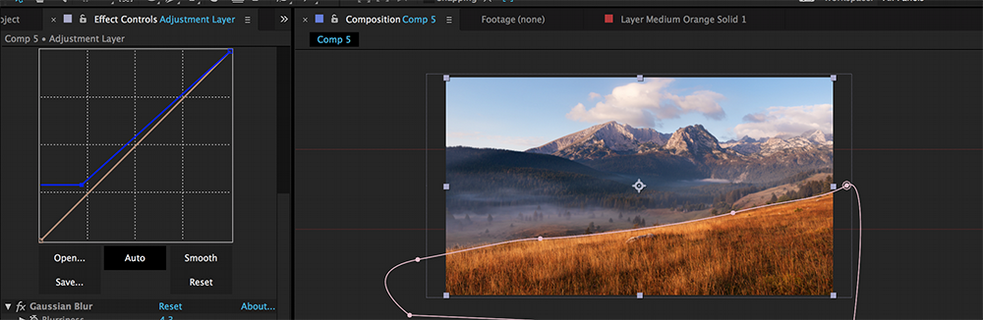
Step 3: Apply Effects to Adjustment Layer
To create a realistic fog effect, make sure that the fog is not only colored but also that it affects the layers under it. To do this, we will probably want to desaturate, blur and lightly color the background layers where the fog overlays.
Apply a quick Hue/Saturation effect to the adjustment layer. Set the saturation down to -50 and the lightness up to 20. You should now start to see your fog layer showing up. So add the color in it.
When compositing is the curve effect add the effect in it. Now, it all depends on the color grade, but in most cases, you want to affect the blue channel. Then Switch to the blue channel and grab the bottom left point and bring it up to [9, 1.2]. Your fog should have a little bit of a blue tint in the shadow areas and lighter in the highlights.
The way you do color will depend on the view, but in general, you will always want to bring up the shadows and probably bring down the whites if the view is darker.
Finally, add a Gaussian blur to the adjustment layer. A value around 5 should do.
Step 4: Mask the Adjustment Layer
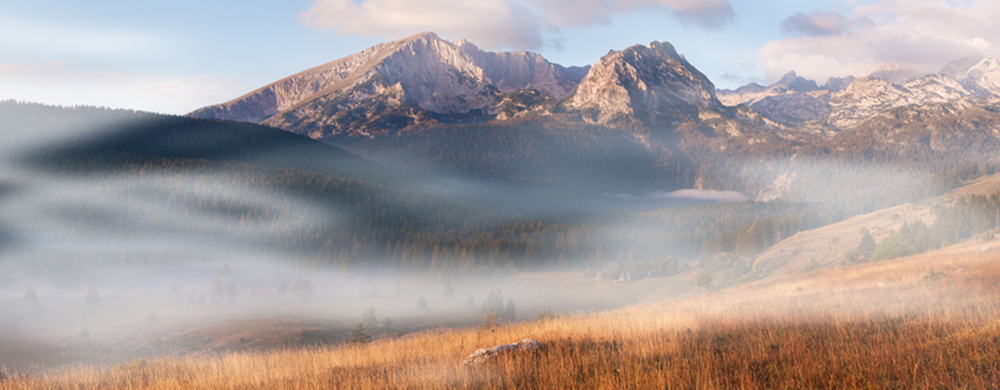
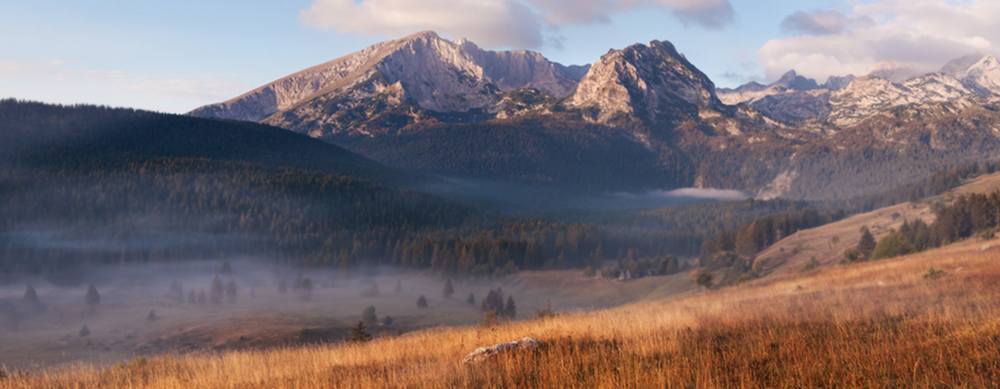
Mask out areas for the fog to sit behind. In our example, I’ll go ahead and mask out the hill in the foreground.
Step 5: Duplicate
For the excellent results, duplicate your ‘Fog’ and adjustment layer multiple times to create more realistic effects. An excellent way to sell your composite is to create a parallax effect where the foreground fog moves faster than the background fog, but it just depends on the individual scene and time limitations.
Step 6: Track It
If there is any movement in the footage, track it and apply the information to the ‘Fog’ Layers. Don’t need to apply the data to the adjustment layers, just the ‘Fog’ layers.