3D modeling techniques is most popular with beginners in which the artist begins with a low-resolution primitive and modifies the shape such as a box, sphere, and cylinder by extruding, scaling, or rotating faces and edges which are used to design the basic shape of the final model. This process uses a number of repetitive levels to get the final product, which can lead to a more efficient and controlled modeling process. Let’s take a look at a few of the most common used 3D modeling techniques.
4 Common Used 3D Modelling Techniques You Should Know
1. Digital Sculpting
The technology industry has integrated with various 3D modeling processes, that they call disruptive technologies. The artists use this advanced 3D modeling software programs to develop the models. Digital sculpting is a type of disruptive technology and has leveraged the 3D modeling process to a great extent. The modellers do not need to carry out the painstaking constraints of edge flow and topography. This allows them to design the 3D models, in a way similar to the sculpting digital clay process.
With digital sculpting, creature sculpting and character sculpting has reached to distinct levels. The modelers can carry out the process faster and with great efficiency. The artists work with meshes containing high resolution with millions of polygons.
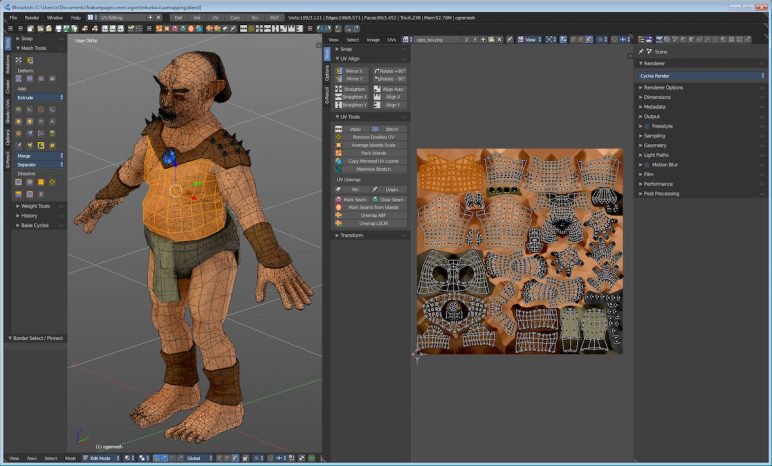
2. Subdivision / Box Modeling
Box modeling is the most common polygonal 3D modeling techniques and that is used in combination with edge modeling techniques.
This is a polygonal modeling type where the artists make use of geometric shapes like cylinder, cube or sphere and then shapes it until the intended appearance is obtained. Box modelers carry out the process in different stages. First, they started with a low-resolution mesh after that they refine the model shape than they sub-divides the mesh, ensuring the hard edges are smoothened out and add the required detail in it. They repeat this process of refining and subdividing until polygonal detail is present in the mesh, which can convey the desired concept.
3. Image-Based Modeling
In this modeling, 3D objects are derived algorithmically from a set of 2D images that are static. This type of modeling is used where the modeler faces budgetary or time restrictions and is not able to develop realized entirely 3D images. This is one of the most common types of 3D modeling in the film production industry. Over the years, image-based modeling is frequently used in the entertainment industry.
4. Contour / Edge Modeling
This is another type of polygonal modeling technique, although it is different from box modeling. In the process, the modelers develop the model piece by piece, instead of refining a primitive shape. This is accomplished by placing the loops of polygons along the edges and filling the gaps that lie between them. This process is applied, as it is hard to complete certain mashes through box modelling. For instance, the human face cannot be achieved only through box modeling. You can collaborate with one of the reputed modeling organizations to get these models designed. The experts carry out 3D modeling process with skill and develop the desired models.
For students who are interested to learn more on 3D Modeling Techniques in Vadodara and would like to learn this on a more professional level, please sign up today for our Animation Course at Arena Sayajigunj to get the best start to their Professional Careers.
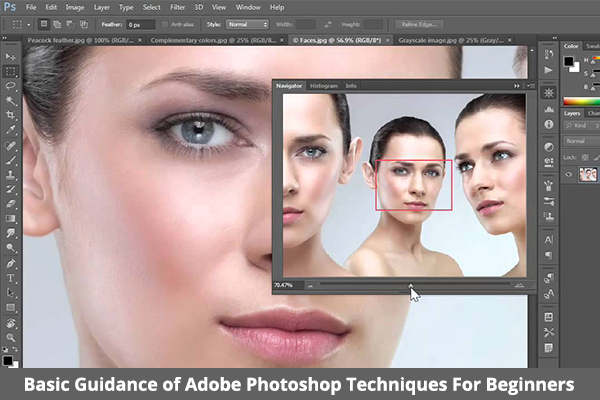
Photoshop is the most powerful photo editing adobe software and good choice for animators and designers, having a great variety of tool to create astonishing graphics and making the image look amazing. This blog post trains you the basic photoshop techniques for learners. If you are beginner then its take time and guidance to even learn the basics photoshop techniques. Below we introduce you to the photoshop work area and shows you how to open and save your images, zoom in and zoom out, and undo the mistakes.
Click on below Video: Basics of Photoshop
Learn the Basics of Photoshop Techniques
1. Open images – To open and create images
In the menu bar, Select File > Open – to open existing images.
In the menu bar, Select File > New – to create a new image from scratch. Select a document preset. Customize the preset by typing in the values like height and width.
2. Get familiar with the Work Area – The Interface
1. Menu Bar
Display the File, Image, Edit and other menus that give you access to a variety of commands, panels and adjustments.
2. Options Bar – Under the Menu Bar
Shows the options for the tool you are currently working with.
3. Tools Panel – Left Side
Contains tools for creating artwork and images editing. Similar tools are classified together. You can access similar tools in a group by clicking and holding a tool in the panel.
4. Panels – Right Side
Include Layers, Color, Properties and other panels that contain a variety of controls for working with images. You can find the complete list of panels under the window menu.
5. Document Window – Middle Side
Displays the file you are currently operating on. Multiple open documents display in tabs in the Document window.
Close the Image: Choose File > Close.
3. Learn How to Zoom and Pan
Change the view of an image – To zoom in and Zoom out and pan around
1. The Zoom tool is placed in the Tools panel. Change from Zoom Into Out in the options bar.
2. The Hand tool also placed in the Tools panel, allows you to pan around a large or zoomed-in image.
4. Undo a Command
Undo single step or multiple steps and use the History panel.
1. To undo the last work you did, Select Edit > Undo or press Control+Z (Windows) or Command+Z (macOS).
2. To redo the previous action you did, select Edit > Redo or again press Control+Z (Windows) or Command+Z (macOS).
To undo multiple times, Select edit > Step backwards multiple times or choose an action in the history panel.
Click on below Video: 10 Things Photoshop Beginners want to Know
5. Save Work
Use the Save commands – To save an image
Choose File > Save As.
Saving in Photoshop format (.psd) retain layers, type and other editable Photoshop properties. It’s best to save the image in PSD format.
Saving in PNG (.png) or JPEG (.jpg) format will save as a standard image file that can be opened, shared by other programs and posted online. When you are finished with editing, save a copy in one of these formats too.
For students who are interested to learn more onbasic of photoshop techniques in vadodara and would like to experience and practice on a more professional level, please sign up today for our Arena Sayajigunj Animation Courses.
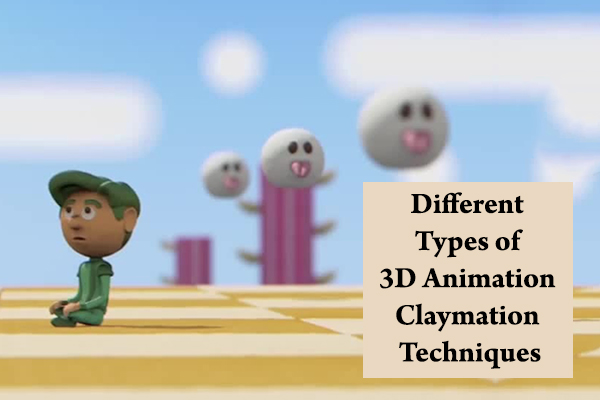
In the animation industry, there are many animation techniques among them one is the 3D animation claymation technique which we are going to teach you in this Arena Sayajigunj blog post. This type of animation consists of a malleable substance, usually clay which can be moved, animated and photographed, some of these techniques do require more skill and precision than others. Let’s get started with different types of 3D animation claymation techniques, a bit about how they are made and show a video of some final productions made with these techniques.
Claymation Techniques
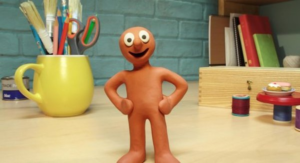
Each character or object is sculpted from clay or other pliable material as Plasticine, around a wire skeleton called an armature and then arranged on the set, where it is shot in an interval for the next shot and so on until the animator has achieved the desired amount of film. Upon playback, the mind of the observer perceives the series of slightly changing, rapidly succeeding images as motion.
Click on below Video: How to make Wire Armatures for Stop Motion
A consistent shooting environment is required to maintain the illusion of movement: objects must be consistently placed and lit and work must continue in a calm environment.
For students who are interested in learning more on 3D Animation Claymation Techniques and would like to experience more on a professional level, please sign up today for our Animation Course in Vadodara.
Different Types of 3D Animation Claymation Techniques
1. Character Animation
This is the animation of the characters which are rigged with wireframe skeleton so shots can be precisely made this can assist when arcing moves which creates a more believable production.
Click on below Video: A Grand Day Out: Building A Rocket
2. Freeform Animation
Freeform is a widely used animation claymation techniques which are used creatively and it involves the clay changing form rapidly throughout the animation into almost any form. In this animation the idea is that there is no set in-between point, the animator has a starting point and an end point and how they achieve can usually be quite random and creative. A clay sphere, transforming into a vase and morphing into a human structure is an excellent example of freeform.
3. Strata-Cut Animation
Strata-Cut is not more in used claymation techniques in the animation industry, it involves an advanced technique to create, as the actual animation is first created within a block of clay, this is then sliced away, fractionally at a time and photographed this when played back, produces a fluid animation.
Click on below Video: Strata Cut Animation
4. Clay Painting Animation
Clay Paintings give a similar effect to a Strata Cut animation however clay is moulded and moved around a canvas which can create a bizarre effect. An excellent example of this type of animation is the “Mona Lisa Descending a Staircase” which demonstrates transitioning and similarities between artists work.
Click on below Video: Mona Lisa Descending a Staircase
5. Clay Melting Animation
Sub-Variation clay animation can be informally called “clay melting”. Any heat source can be applied on or near clay to cause it to melt while an animation camera on a time-lapse setting slowly films the process.
For example, consider Vinton’s early short clay-animated film Closed Mondays (co-produced by animator Bob Gardiner) at the end of the computer sequence.
Special effects is imagery that is created from non-genuine or artificial sources or crude material to some degree or entire but should seem genuine, predictable with whatever is left of the components in the story.
Special effects (often abbreviated as SFX, SPFX, or simply FX) are illusions or visual tricks used in the film, television, theatre, video game and simulator industries to simulate the imagined events in a story or virtual world. For example space travel that can’t be accomplished by cutting edge or ordinary methods.
Example for Special Effect
In the show event that you show a genuine tiger, will the audience think it is genuine? Not likely, but rather it will seem genuine, steady with whatever remains of the fictional story (which isn’t genuine as well). Then again, if you show the audience a film like Who Framed Roger Rabbit they realize the movement isn’t genuine but still, accept it as a major aspect of the imaginary world made by the producers.
Click on below Video: Who Framed Roger Rabbit
Special Effect is divided into two categories:
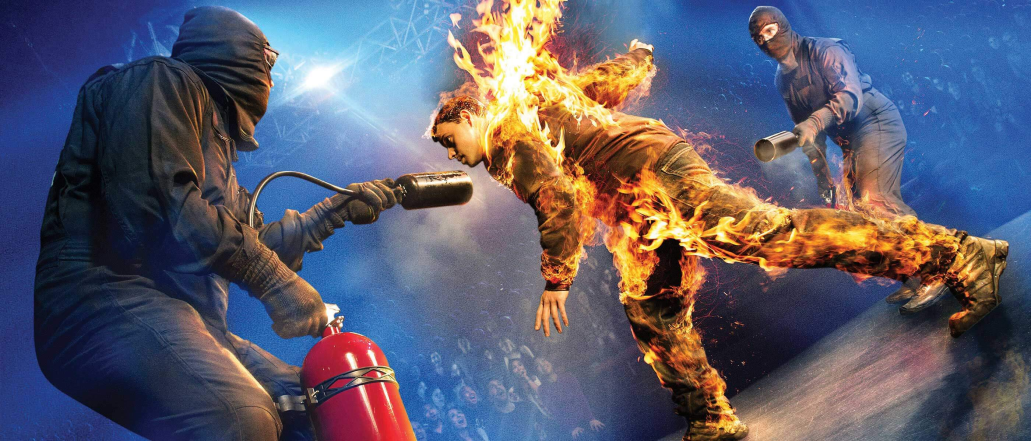
1. Mechanical Effects (Physical Effects)
Mechanical/ Practical Effects are achieved during the live action shooting in which they make use of scenery, scale models, animatronics, mechanized props and atmospheric effects in creating physical rain, wind, snow, fog, clouds etc.
These effects are also incorporated into makeup and set design.
Click on below Video: Beginners Mistakes in SFX
For Example: Prosthetic makeup can be used to make an actor look like a non-human creature or a set may be built with breakaway walls or mirror to enhance a fight scene.
2. Optical Effects (Photographic Effects)
Optical impacts are techniques utilized in image or film outlines are made photographically either “in-camera” utilizing multiple exposure, mattes or post-production using an optical printer. An optical impact may be utilized to put performing artists or sets against a different background.
Computer-generated imagery (CGI) has gone to the forefront of special effects technologies. It gives film producers more control and enables numerous effects to be practiced all the more securely and convincingly and—as technology improves—at lower costs. Therefore, numerous optical and mechanical effects technique have been supplanted by CGI.
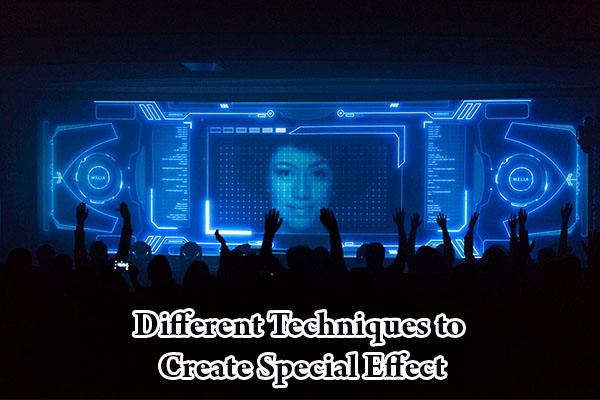
Different Techniques to Create Special Effect
There are three techniques to create images for video or films:
1. Through the Camera
Split screen
Stereoscopy
Flicker
Props
HDR (High Dynamic Range)
Flare
Stop motion
Filters and Lighting
Zooms, movements, etc.
High-speed Imaging
Slow-motion
Still imagery
Prosthetics and Make-up
Miniature sets, models, etc.
Motion control rigs
Underwater techniques
Action, Stunts, Simulations
Guns and Weapons
Explosives
Set Design and Decoration
Lens (e.g. fisheye, tilt-shift, etc.)
Animatronics, puppetry, robots, models, etc.
Color or Tonal effects (Black and white, LUTs, Gammas, etc.)
False perspective (using the set and lens)
Click on below Video: How to Add Special Effect in your Video
2. Scanning
Hand-drawn animation
Film
Other media or imagery
3. Computer Software and Hardware
Editing
Compositing
Keying
Rotoscoping
Tracking
Texture mapping
Motion Capture
Crowd simulation
Animation
Colour grading
Painting, Matte painting
Filters, plug-ins
Warping, deforming
Motion Graphics, Text, Shapes
Lighting, Ray tracing, Shading
Resizing, reframing, transcoding
Bullet-time, Time-lapse, Hyper-lapse
Fluid dynamics, Fractals and Particle dynamics
2D and 3D Models, Texturing and Animation
Slow-motion or high-speed Retiming and Interpolation
Click on below Video: 7 Movie before and after Special Effect
For beginner animation enthusiasts who want to learn different techniques to create a special effect on a professional level and want to become a special effects artist, please send us an enquiry for our Arena VFX courses in Vadodara.
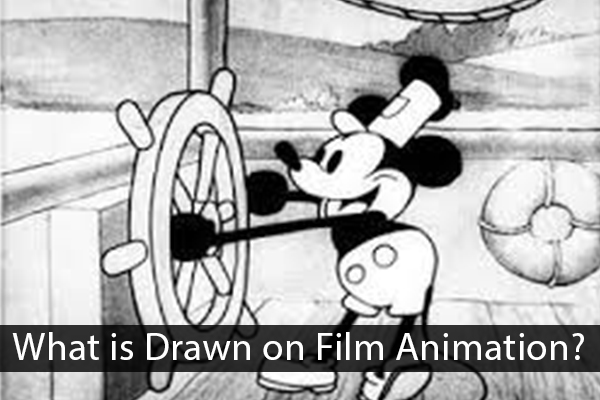
Drawn on film animation is one of the traditional technique of animation. This animation technique needs a lot of talent and precise skill where footage is produced by creating the images directly on film reel without using any cameras. As opposed to any other style of animation use tools, techniques and various methods where the objects or images are photographed frame by frame with an animation camera. This technique skips the entire process of video sequencing, photographing or the more modern process of digital rendering.
Click on Below Video: How to do Animation by Drawing on Film
Learn How Drawn on Film Animation Works?
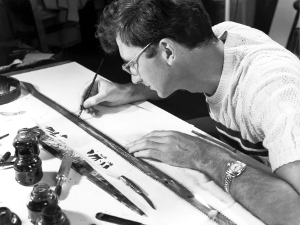
The animators can work either developed (black) or undeveloped (blank) film in small sizes or large sizes; which is the best suitable technique. The film reel is put down across the work surface and fixed into place. After placing the film, the animator works from frame to frame to design image on each small frame, managing reel with every sequential frame to display the motion.
Click on Below Video: Making a Hand Drawn Animated 16mm Film
The major benefit of drawn on film animation is that it is similarly inexpensive. It does not need any complex camera arrays, thousands of cells or expensive software. A few sample images and etching tools, a projector and a roll of film, can be sufficient to let an animator discover their capabilities and play with a complete medium. The simplicity of this animation allows the animator to be more creative and innovative in storytelling through animated images or videos.
Techniques of Drawn on Film Animation
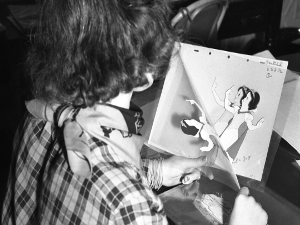
Animators use a blank film reel or used film reel for creating the drawn on film animation technique. A film reel of any size is fixed on to a plain surface and on every small frame, animators create drawings or sequences to show the animation sequence.
Also, blank film reel can be developed in a dark room where the film is not exposed and use a small light, animations can be created by exposing the film little by little. Small objects can be placed on those films while trying to focus the lights on the frames, and this creates a permanent impression of the object. Once the animation is done, it has to be developed like a photograph and viola you see a clearer image. This is more like a stop-motion animation combined with silhouette animation.
Click on Below Video: Hand Drawn Animation vs CGI – A Documentary
Advantage of Drawn on Film Animation
It is Less expensive
No need to spend on expensive software
Perfect drawings or complex drawings are not required
Unique animations can be created
Computer is not mandatory
Animators can play around with different kinds of exposure to create stunning animations.
A roll of film, projector, etching tools and simple drawings is sufficient to create drawn on film animation.

 Techniques of Drawn on Film Animation